
Tube of choice:
I am using the wonderful art work of Kathrine Barber which can be found here
Supplies:
My scrap kit Autumn Blessings Here
Plugin:
Eye candy 4000 chrome (for the wording) can be found here
Save often while doing this
Tag size starts out as 800x800 pixels
Select the tube you want to use
Select to 2 Papers from the kit
Copy and paste the second one that you liked and paste as new layer on the first one.
I am using paper 3 for my first choice for my second choice I am using paper 14
Now open the mask that is in the bonus folder name of mask SKCKM Mask 91208
Promote the paper from background to raster layer
Now right click on the second layer go to mask layer > from Image

Delete mask click yes when prompted
Then right click on group-raster layer and merge group
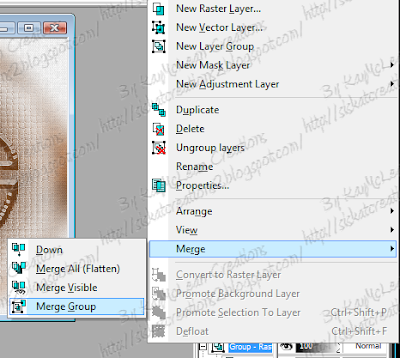
Merge the group down to the lower raster
Now go to the frame folder in the kit and choice the frame you like
Copy frame and paste as a new layer on you tag
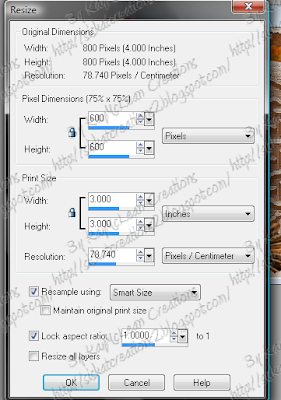
Resize frame to 600x600 pixels
Make sure the resize all layers is unchecked click ok
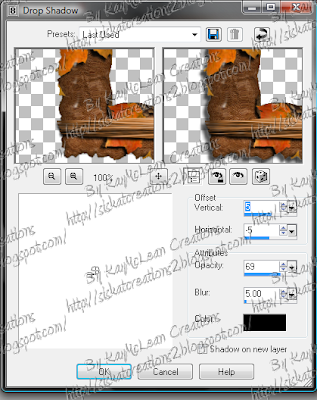
Add a drop shadow to the frame
See below for my settings
Now copy and paste you tube as a new layer on your tag
Now duplicate the tube
Delete the original raster
Now duplicate the duplicate
Move one of the duplicates below the frame then add drop shadow same settings as above
Now add a drop shadow to the top tube but make it the opposite of the last use
Now go to the frame raster and take your wand and click in the middle of if (make sure you include the drop shadow in the dancing ants
Now go to selections and click invert
Now click the top tube raster
Grab your eraser
Now erase any portion you don’t want hanging over the frame
Now click the lower tube and erase any thing that is extends beyond the frame
Invert the dancing ants
Now expand 3 pixels
Click on the bottom raster and promote selection to new raster
Now deselect the dancing ants
Click on the bottom raster
Now grab the doodle (I am using the one in my kit)you would like to use copy and paste as new layer and place any where you would like.
I duplicated and mirrored and flipped it then I merged the doodles together the duplicated it again then flipped it and merged it again then I added the drop shadow settings: (see image above)
Now lower the occupancy of the raster to 54 % merge down to the raster bottom raster
Click bottom raster
Now go to the bonus folder in the kit and grab one of these leaves or leaves and pine cones or pine cones
Copy and paste as a new layer
Now click on the raster and where you see the words normal change that to overlay
Merge down to the bottom layer
Now go to the element folder and choose the elements you would like to have in the tag and place them anywhere you like above the frame layer while adding drop shadow to each item
Now merge all layers together
Now go to the element folder again and grab the name tags
Place the copy right info on tag
Pick the name tag you would like to use on your tag.
Use the lasso and circle around the name plate you would like to use copy and paste as a new layer
Move to where you like add a drop shadow and merger all layers.
Resize to what you would like
Now your ready to add any wording you like and name.
To get the effect I have for the words duplicate the words and Eye candy 4000 chrome the duplicated layer and overlay merge down to the lower set of words then add drop shadow then changer layer from normal to dodge the words and merge.
Your done save your tag and show it off
Don’t forget to change the name of the tag cause it will have the original name if you don’t and it will save over the original paper.
If you enjoy this tut check the others I have here


